You can access Unix (Solaris and Linux) machines remotely using VNC. You will get the same interface as what you get on the actual desktop. You can use this service to run Unix desktop session remotely (within the KFUPM campus) from your office, home or dorm, to run any Unix-based application, such as the Opnet, etc. Following is the list of machines specifically available for this purpose:
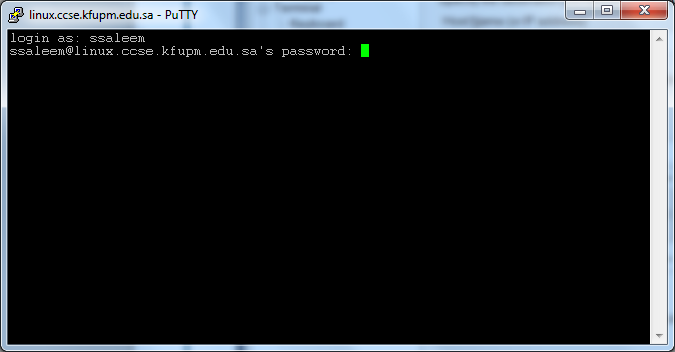
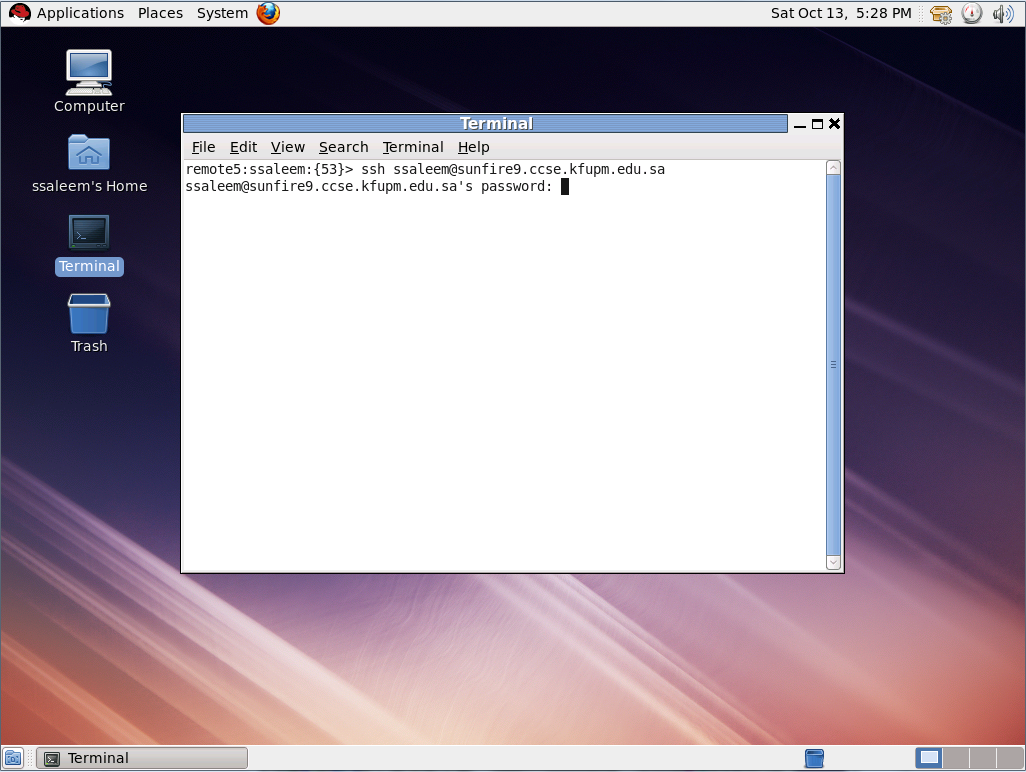
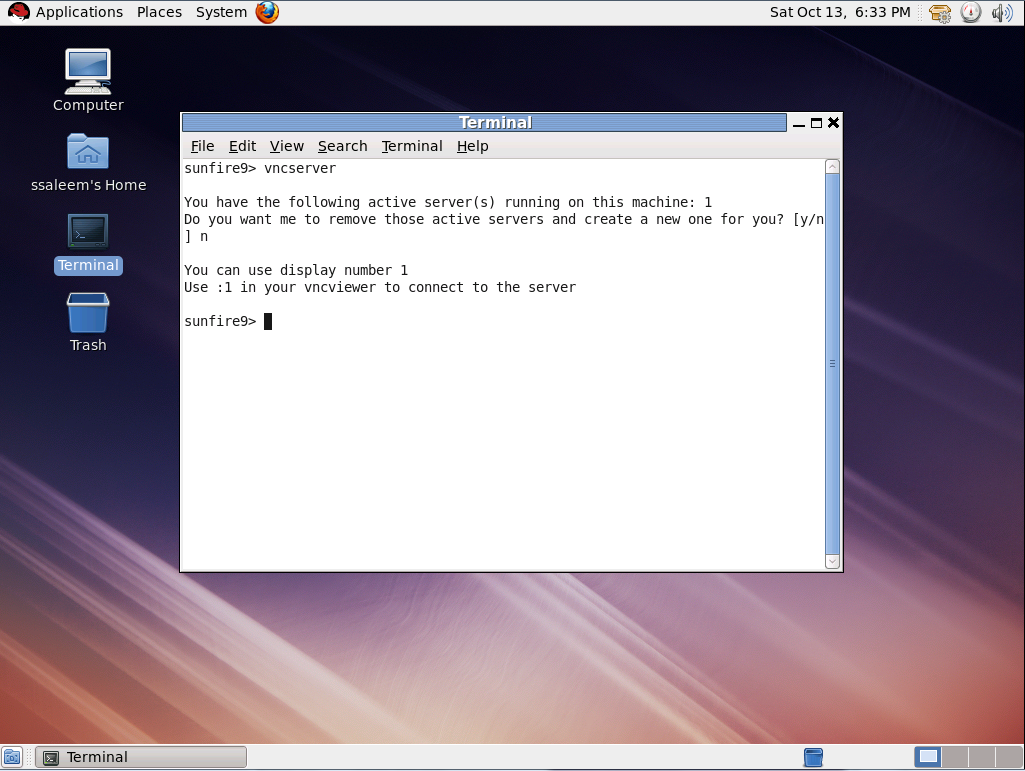
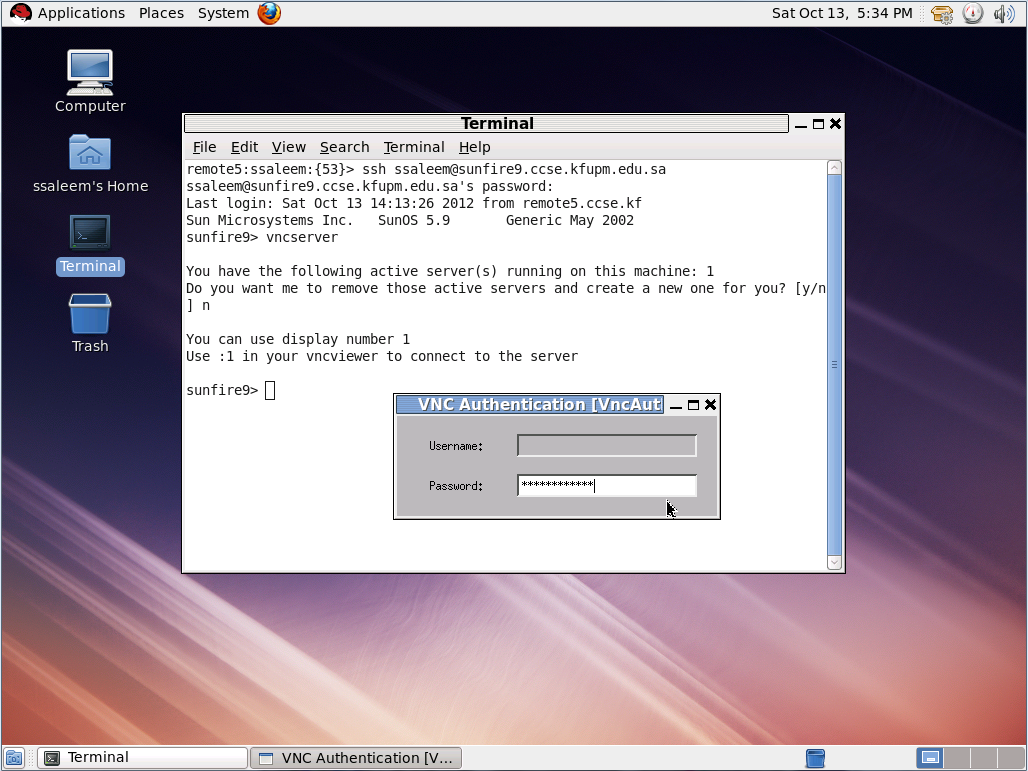
Enter your Unix username and password to login to the Unix machine. If you login successfully, you will get the command prompt as shown in the picture below. After that, start the VNC server by typing in “ vncserver” on the command line as shown below:
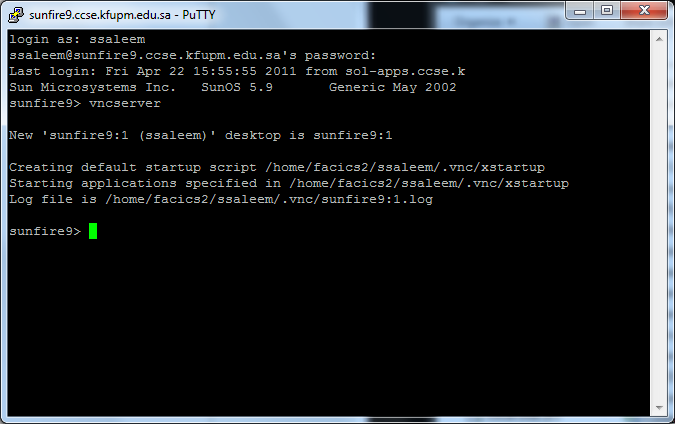
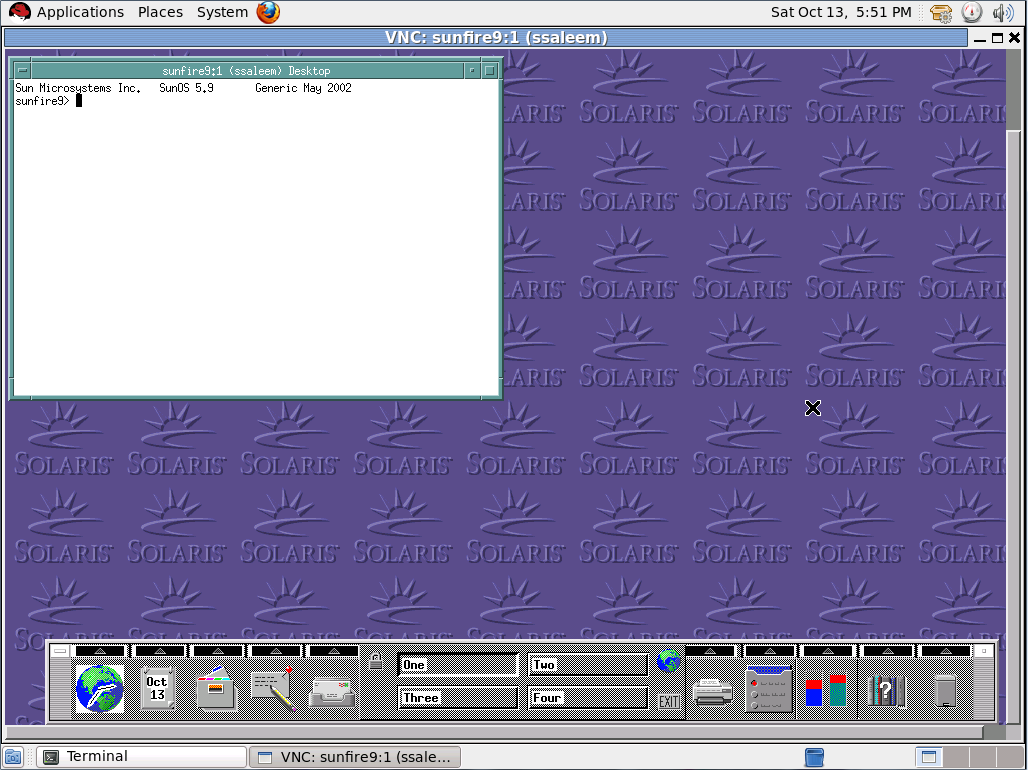
For example, in the above given picture, note the display number, it is “1” (taken from the desktop address “sunfire9:1”. Similarly, incase the desktop address you get is “sunfire9:7”, then the display number will be “7”).
Note: If you are starting the VNC server for the first time, it will ask you to set a password. Set the password to something of your choice. You will have to use that password to connect to the VNC server from the VNC viewer (as explained in Step 2). (See "Changing VNC Password" for instructions to change your VNC password)
You need to perform this step only once, until you kill the VNC server that you started. After finishing your work you must kill the VNC server by doing SSH to the Unix machine where you started the VNC server (sunfire1.ccse.kfupm.edu.sa in this case) and running the following command:
vncserver –kill :1
Where "1" is your display number. If the display number is 7, then use that in the above command (for example, vncserver –kill :7 ).
Step 2: Start VNC Viewer on your local machine
a. From Windows PC
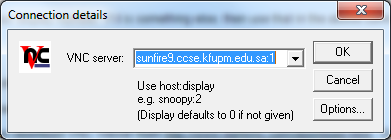
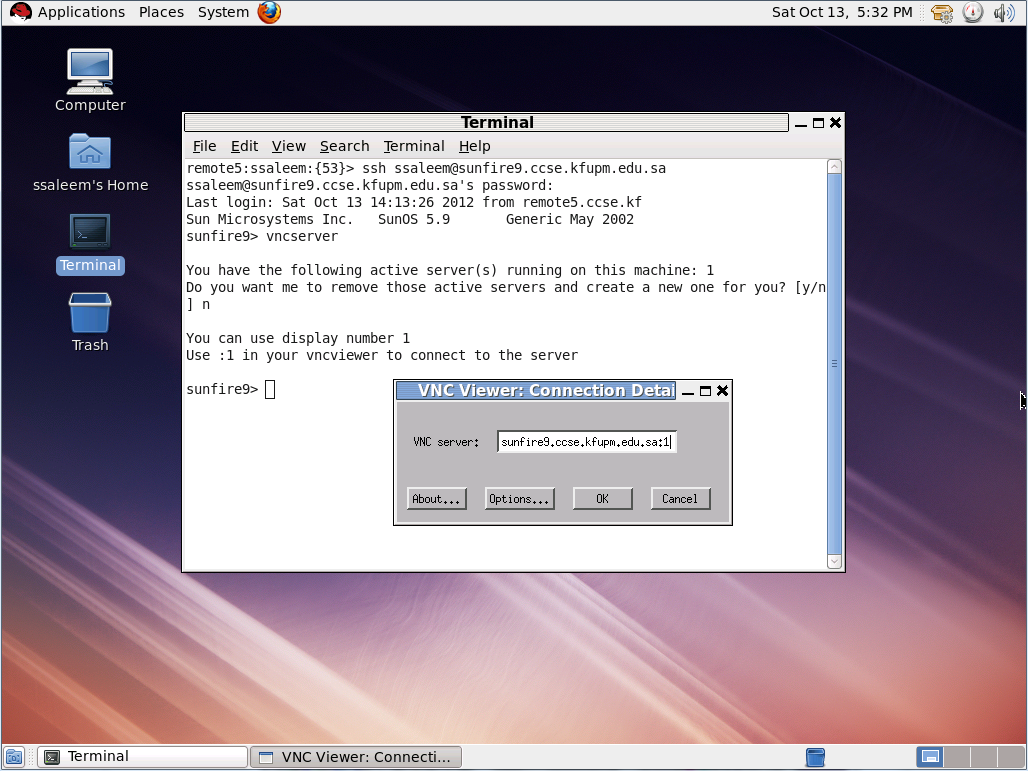
You can download VNC Viewer from http://www.csd.uwo.ca/staff/magi/doc/vnc/download.html . Download the VNC Viewer and install it, if you don't have it already. Launch the VNC Viewer. It will ask you for the name of the VNC server to connect to (as shown below). Specify the server name (along with the display number), on which you started the VNC server in Step 1. For example sunfire9.ccse.kfupm.edu.sa:1 . Where, “1” is the display number that you noted down in Step 1.
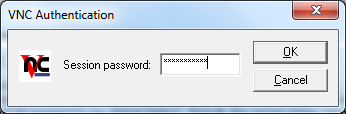
Click on OK button. You will be prompted for the session password. Enter the VNC password that you set up in Step 1.
Now click on OK button. You will now get the desktop screen of the remote Unix workstation.
b. From Linux Workstation
You can also connect to remote Unix machine from Linux workstation (Lab. 22-336-2). First log-in to any Linux machine, open a terminal and connect to the Unix machine, of which you want to have the VNC session.
Then, as mentioned in the step 1 above, you may obtain a Display Number using a terminal, as shown in the below given picture.
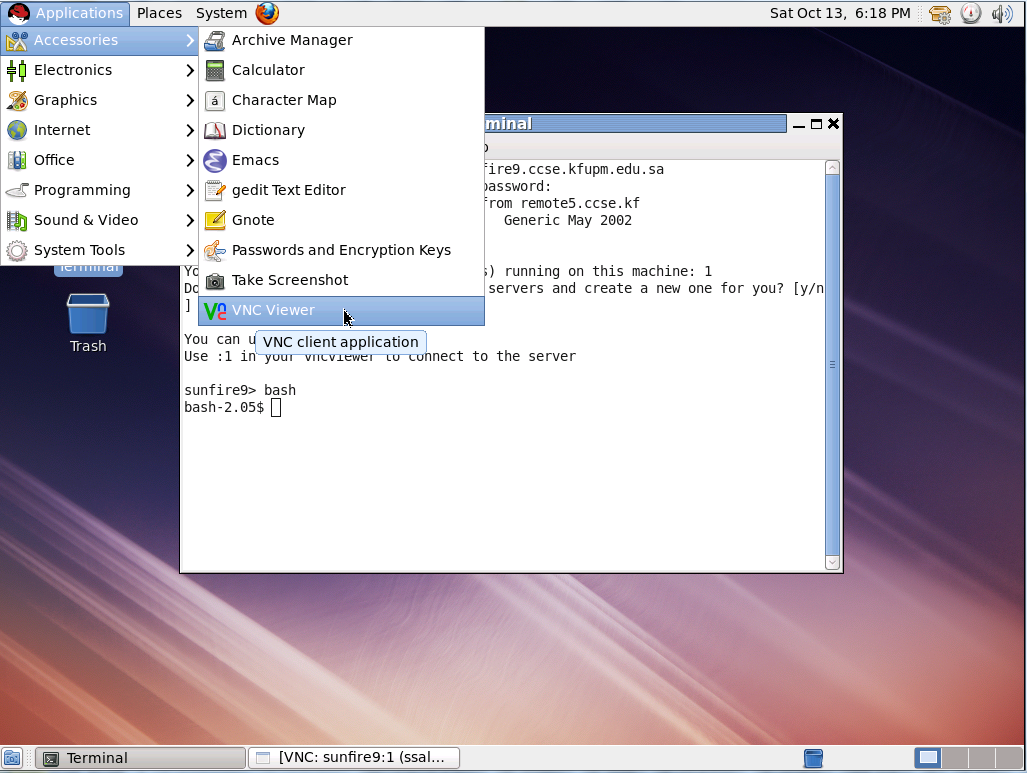
Then go to the (Menu) Applications > Accessories > VNC Viewer, as shown in the below picture, to start a VNC Viewer.
Now provide the hostname (with the domain name, as shown in the below picture) and use a colon (:) and then the Display Number, as shown in the below picture.
Type your VNC password and press Enter.
Below picture shows the session that's established through VNC.
Changing VNC Password
To change the VNC password, enter the command vncpasswd on a terminal. When it prompts "Password", enter your new password. When it prompts "Verify", then type the same password again. The new password for your VNC is now set.